Help & User Guide
Everything you need to set up and run your AI chatbot on WayToChat.
Getting Started
Welcome to WayToChat! Here's how to set up your AI chatbot in a few minutes.
1. Create your account
- Go to the Sign Up page.
- Enter your name, email, and password. Or sign up with Google.
- Check your inbox for a verification email and click the link.
- Log in at the Login page.
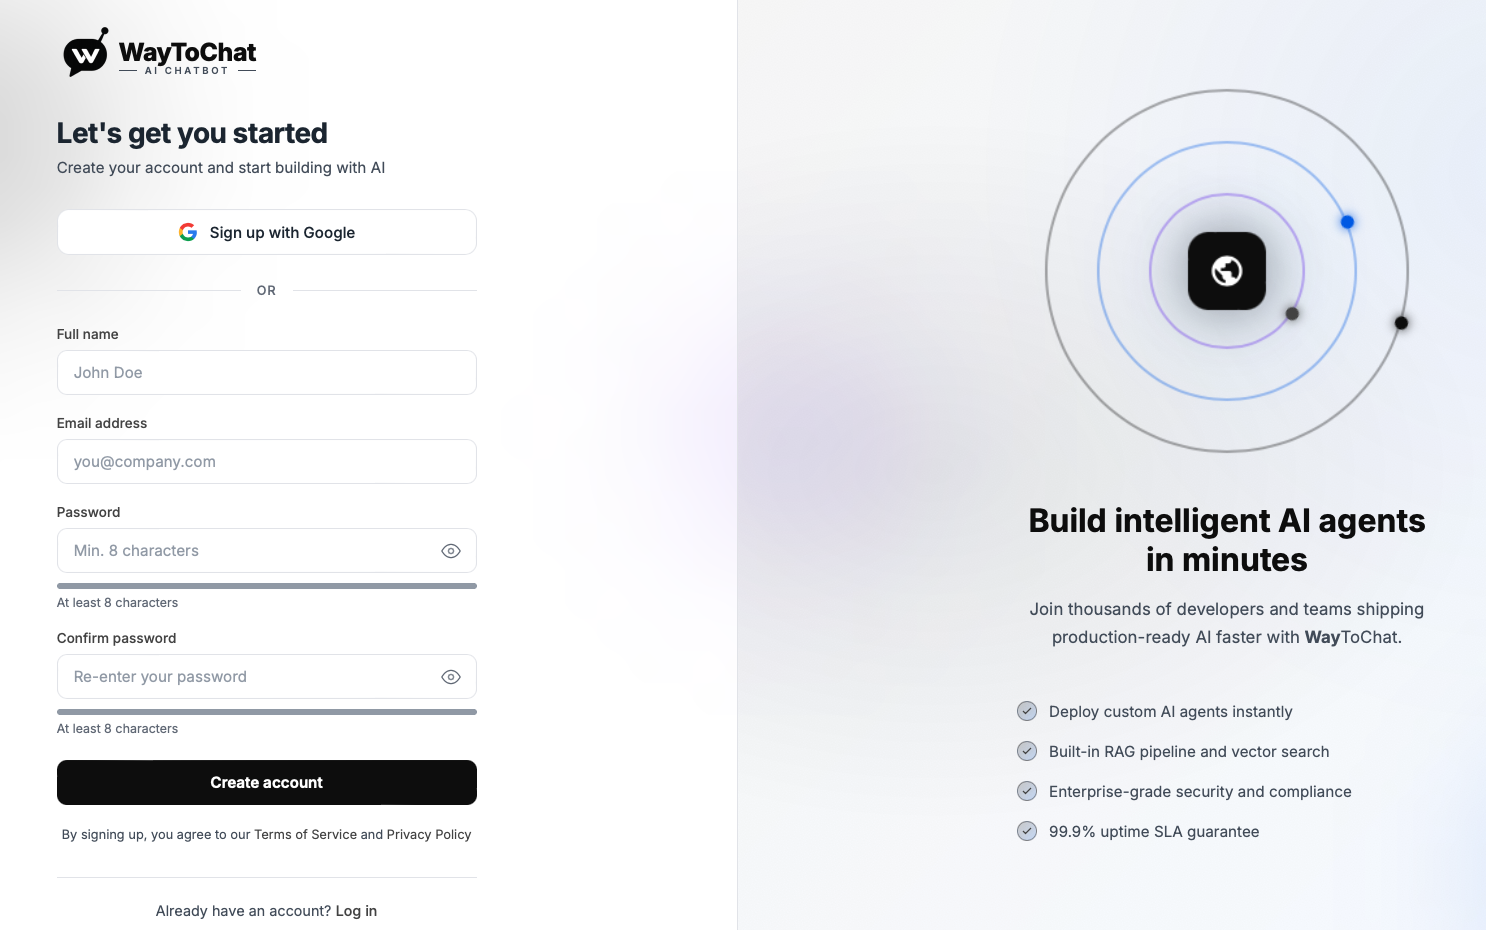
The signup page.
2. Add your restaurant
- After login, you'll land on your Dashboard.
- Enter your restaurant's website URL (for example,
https://yourdiner.com). - Click Set Up Agent. We'll automatically scan your website to learn your menu, hours, location, and contact info.
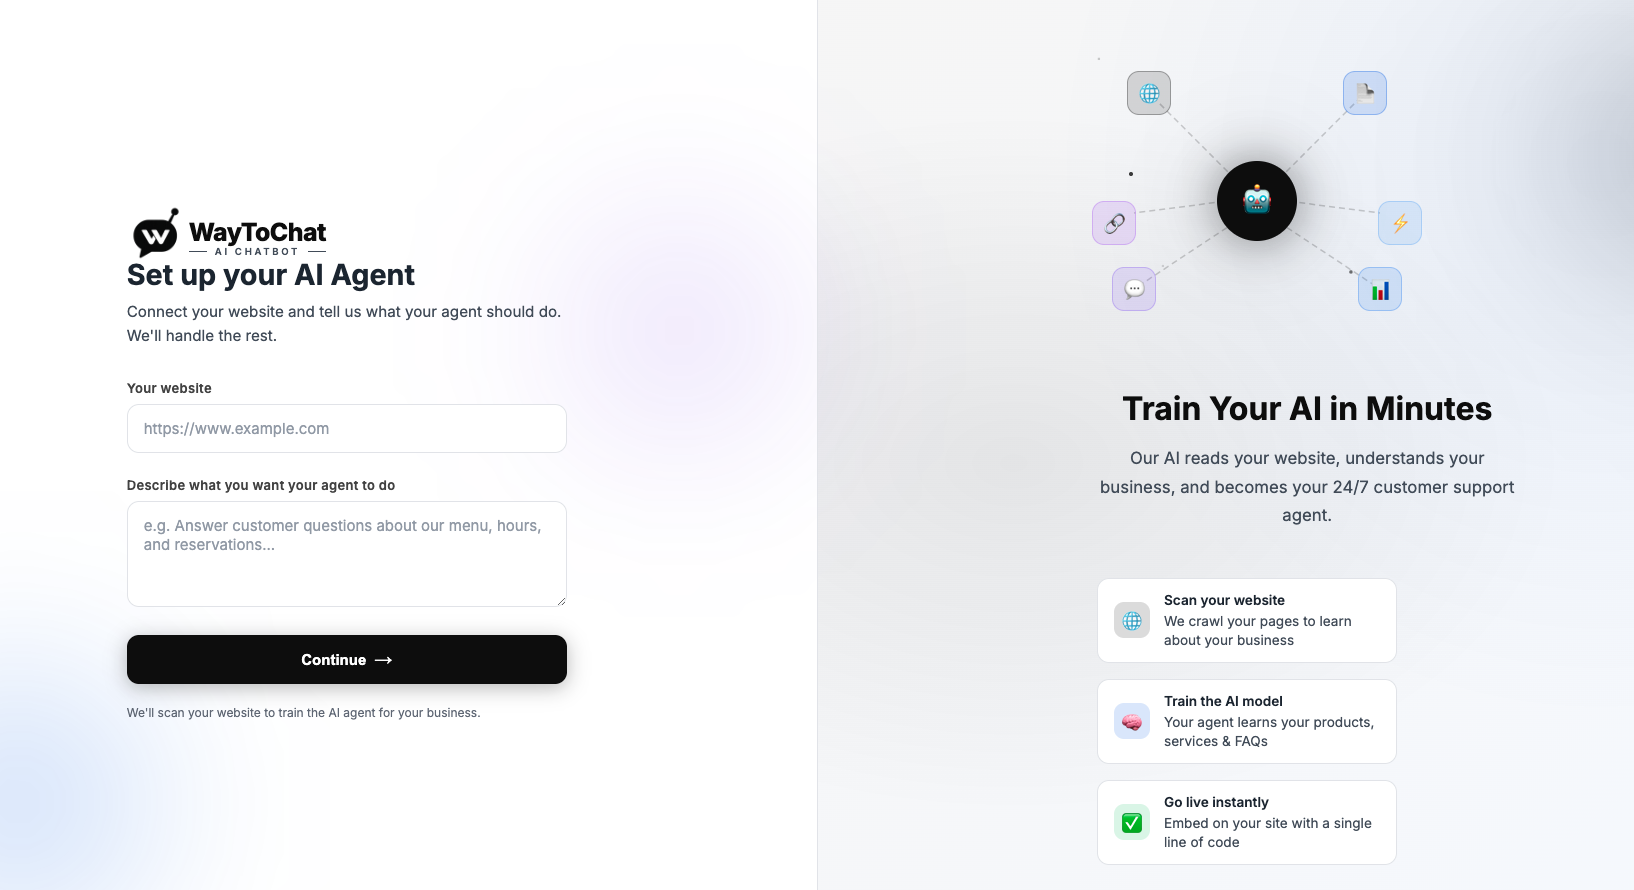
Enter your website URL and click Set Up Agent.
3. Test your chatbot
- Once setup is complete, open the Preview tab in your dashboard.
- Ask sample questions like "What's on the menu?" or "What are your hours?"
- If the answers look right, you're ready to embed the chatbot on your website.

The Preview tab where you can test your chatbot.
Embedding the Chatbot on Your Website
Adding the chatbot to your site takes one copy-paste step. You don't need to know any code.
1. Copy your embed code
- In your dashboard, click the Deploy tab in the left sidebar.
- You'll see a small block of code (it starts with
<script>). - Click the Copy button next to it.
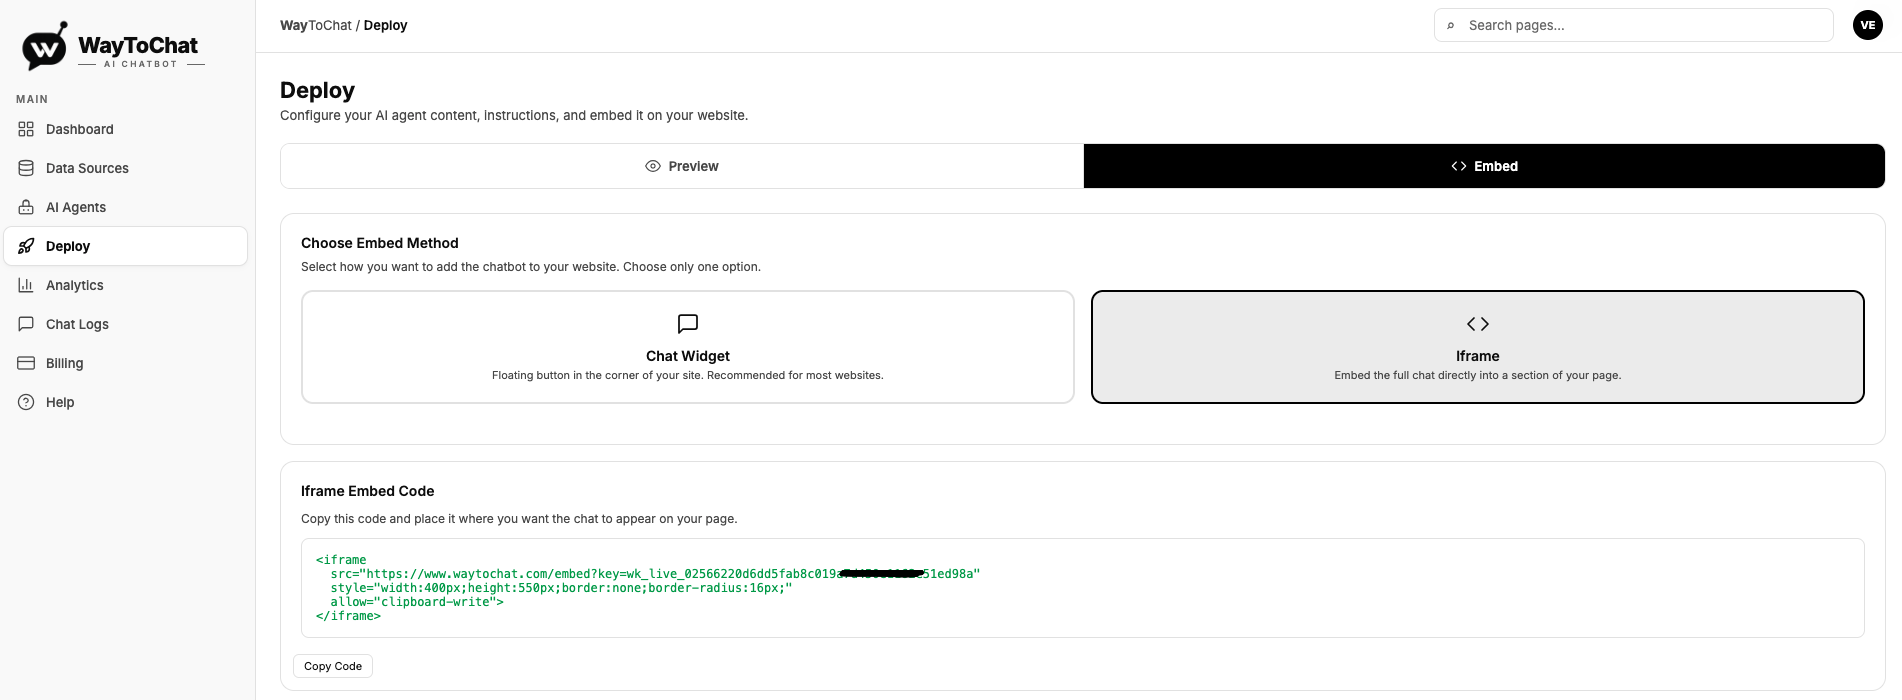
The Deploy tab showing your embed code and Copy button.
2. Paste it into your website
Paste the code into your website's HTML, just before the closing </body> tag.
Depending on your website builder, the steps look different:
- WordPress: Go to Appearance → Theme File Editor → footer.php, paste before
</body>, save. - Wix: Go to Settings → Custom Code → Add Custom Code, paste the code, choose "Body — end", apply to all pages.
- Squarespace: Go to Settings → Advanced → Code Injection → Footer, paste the code, save.
- Shopify: Go to Online Store → Themes → Edit Code → theme.liquid, paste before
</body>, save. - Custom-built site: Ask your developer to paste the code in the site footer.

Example of pasting the code before the closing </body> tag.
3. Confirm it's working
- Open your website in a new browser tab.
- You should see a chat bubble in the bottom-right corner.
- Click it and ask a test question.
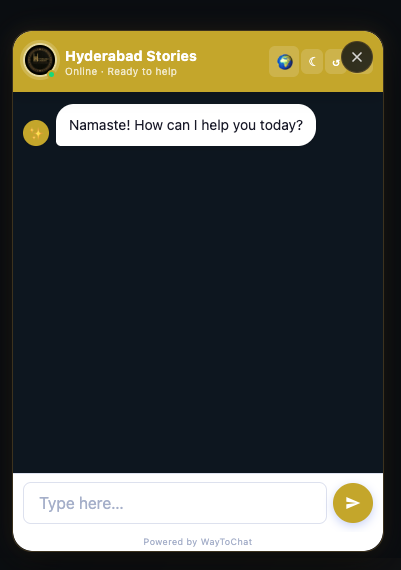
The chat bubble visible in the bottom-right corner of your live website.
Customizing the Widget
Make the chatbot match your brand. All customization happens in the Deploy tab of your dashboard.
Brand color
Pick the color of the chat bubble and header. We auto-detect a color from your website on first setup — you can override it anytime.
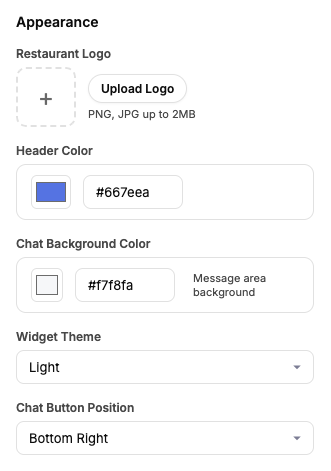
The brand color picker in the Deploy tab.
Greeting message
This is the first message customers see when they open the chat. Examples:
- "Hi there! Welcome to [Your Restaurant]. How can I help you today?"
- "Hungry? Ask me anything about our menu, hours, or to place an order."
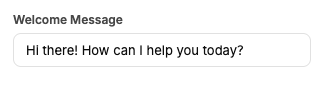
The greeting message field.
Language
Choose the language your chatbot replies in. Options include English, Spanish, Hindi, French, and 25+ more. Or pick Auto-detect and the chatbot will reply in whichever language the customer writes in.
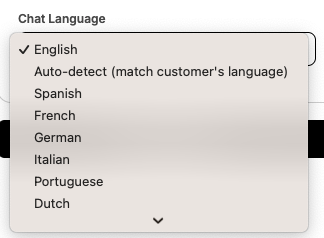
The language selector.
Custom instructions
Add your own rules for the chatbot. Examples:
- "Always mention our $9.99 lunch special when someone asks about lunch."
- "If a customer asks about delivery, tell them we use DoorDash and UberEats."
- "Never recommend the Goat Curry — we're out of stock this week."
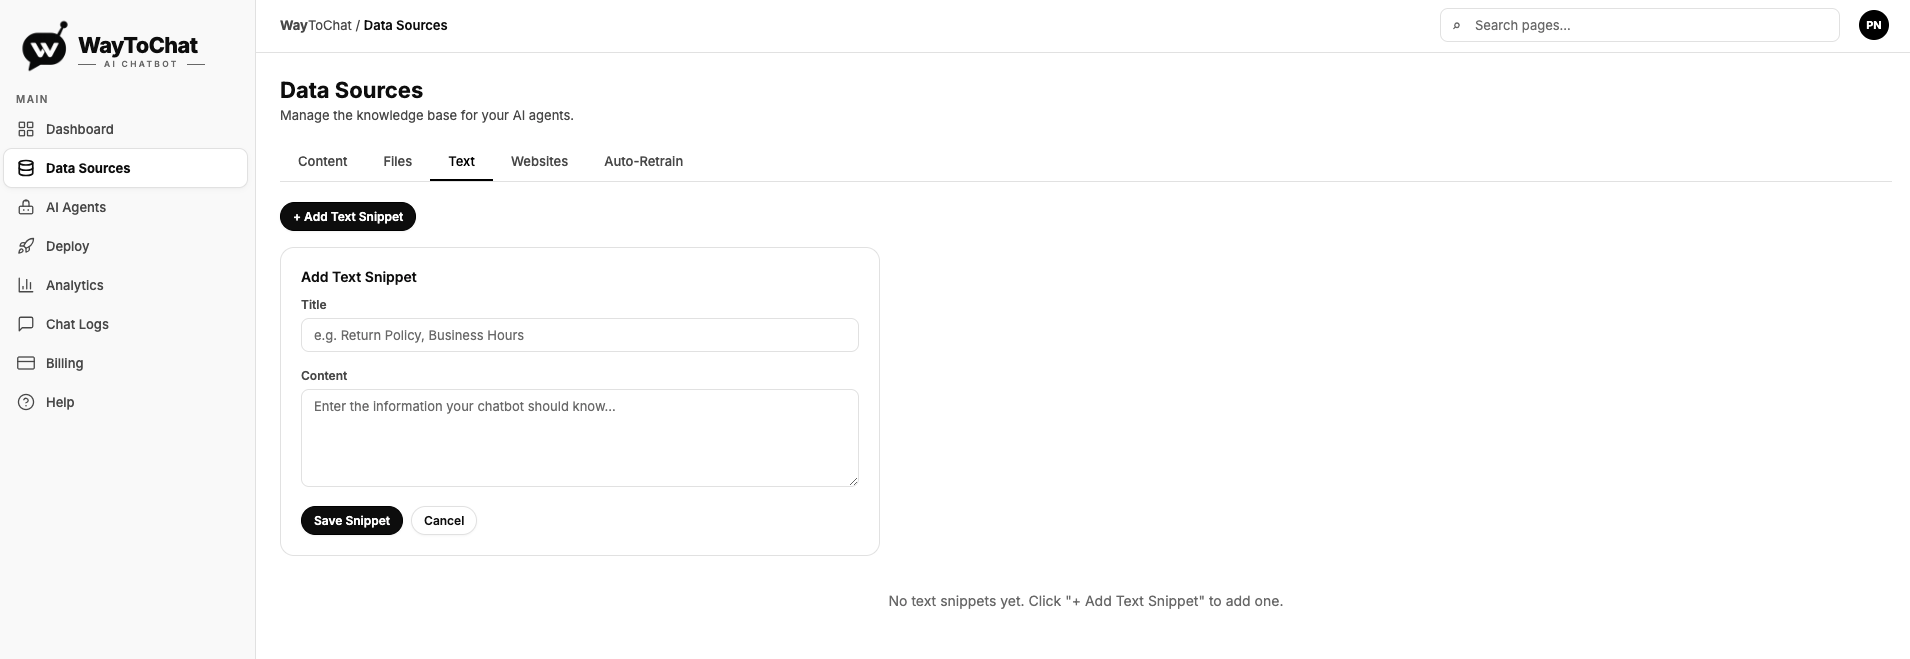
The custom instructions field.
Billing & Subscription
WayToChat offers three plans. You can upgrade, downgrade, or cancel anytime from the Billing tab.
- Limited access to models
- 100 message credits/month (10,000+ API calls)
- 1000 KB per AI agent
- Chat language: Auto-detect language + customer can select
- Unlimited chat history
- Access to advanced models
- 1,000 message credits/month (10,000+ API calls)
- 20 MB per AI agent
- Integrations
- Basic analytics
- Attachments
- Chat language: Auto-detect language + customer can select
- Unlimited chat history
- Auto retrain every 24 hrs
- Access to advanced models
- 5,000 message credits/month (20,000+ API calls)
- 50 MB per AI agent
- Integrations
- Full analytics dashboard
- Attachments
- Chat language: Auto-detect language + customer can select
- Unlimited chat history
- Auto retrain every 24 hrs
How to upgrade
- Go to the Billing tab.
- Click Upgrade next to the plan you want.
- Enter your card details on the secure Stripe checkout page.
- Done. Your plan upgrades immediately.
How to cancel
- Go to the Billing tab.
- Click Cancel Subscription.
- Your plan stays active until the end of your current billing period, then automatically drops to the Free plan.
Payment methods
We accept all major credit and debit cards through Stripe. Your card details are stored securely by Stripe — WayToChat never sees or stores your card number.
Still stuck? Email us at [email protected].